My original plan, before I went to La Palma, was just to sit down with Angie – and maybe Vero if she had time – to get some voiceover soundbites, and maybe 1–2 good pullquotes with the ladies on screen for the “day in the life” film I had suggested. After we had sat down and recorded the interview in both German and English, it was too good to just land on the cutting-room floor.
The past two weeks since getting back have been a bit hectic with some life issues (trying to find a new car, building a business, still dealing with some outstanding topics from my previous job, and some others I won’t go into detail on), so having two big edits hanging over my head was stressing me out slightly. I finished the edits this weekend, and I’m very happy with the results – as too is Punkfish.
The German Interview
Both interviews used the same questions, but this German one has an additional, very entertaining segment discussing the actual name of a specific nudibranch.
The English Interview
Learning Points
Multicamera Workflows
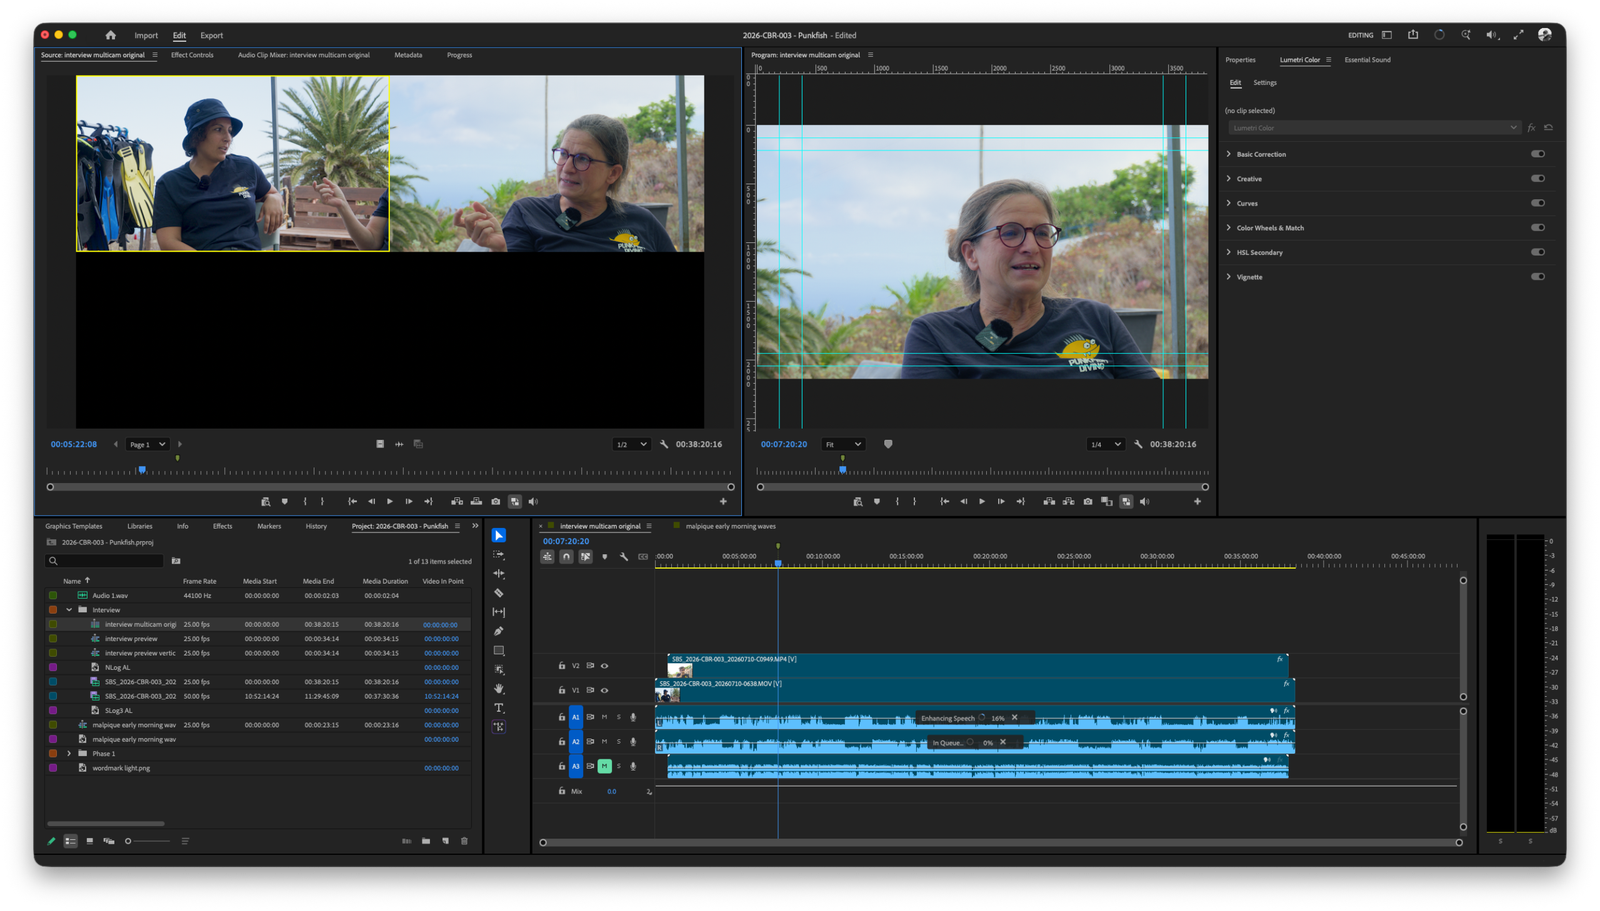
I’ve never really edited multi-camera footage properly before. I’ve always manually placed the two camera clips on separate tracks, and spent way too much time enabling/disabling video to determine where is the best part to cut.
Enter Premiere’s Multi-Camera Source Sequence. Surprisingly simple:
- Select both (or more clips) in the Project Bin
- Right click, “Create Multi-Camera Source Sequence…”
- Select how to synchronise the tracks
- Boom, you have a Multi-Camera Source Sequence.
This is where I started to get a bit confused, because you don’t actually edit in this sequence. You can grade, make rough cuts, etc. but the final clip selection needs to be done in a “normal” sequence. That is actually where it gets pretty magical, though: in the program monitor, you activate multi-camera view and, while the preview is playing, you can just press the number of the clip you want to be displayed at that time, and Premiere applies the edit in the final sequence automatically. You can fine tune the in/out points then using the usual editing tools.
At one point during editing, I did lose sync between part of the video and the associated audio. I know how it happened, and did manage to fix it with a lot of manual alignment, but I need to avoid that in the future (or find the magic keyboard sequence to realign the audio).
When recording, I used a Sennheiser shotgun microphone on the second camera, and two Røde wireless microphones via a receiver on the main camera. This allowed me to align the clips easily using the audio tracks, but in future, synchronised timecodes would probably help. Recording audio separately, also with a synchronised timecode might help to ensure the audio stays aligned in future as well – some research required.
Exposure and Grading
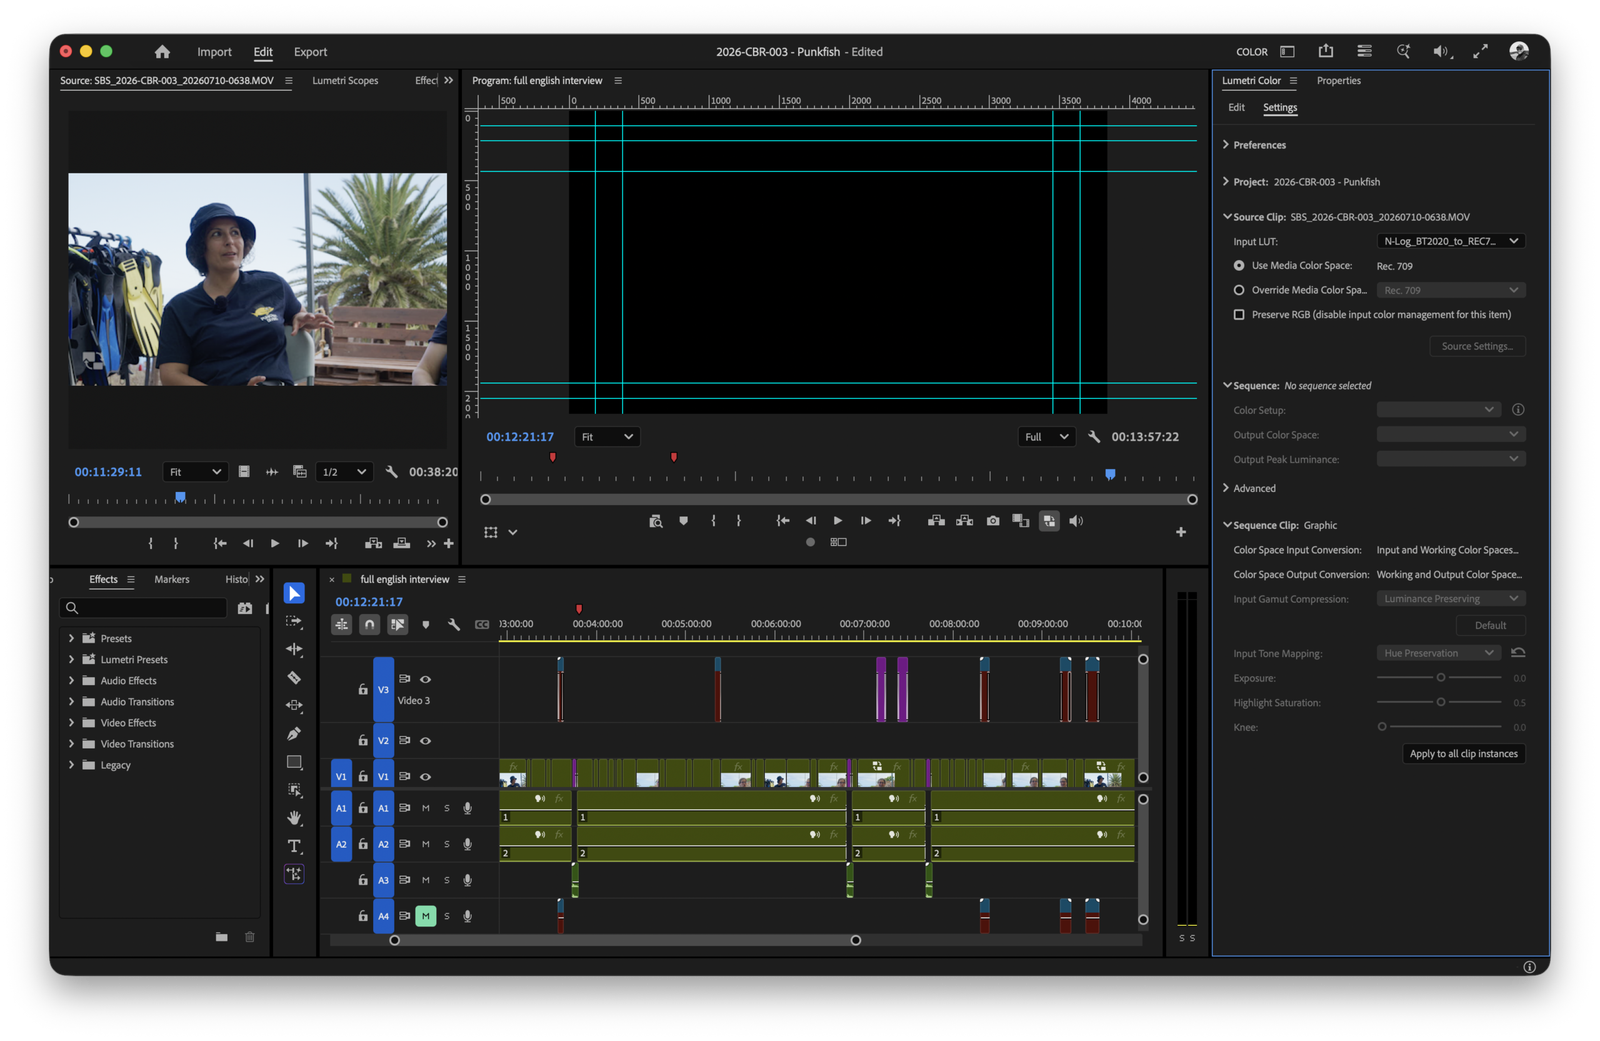
Main lesson here about grading: do it as early as possible, best place is with a LUT on the source clip itself. That way the initial colour carries into the Multi-Camera Source Sequence. The main colour grading and matching should then be done in the master source sequence, that then carries through into any derived edits.
Exposure: ND filters are good to have – if I hadn’t used an ND8 on the camera filming Angie, the background would have been completely blown out. As it is, Angie herself is somewhat underexposed, so I could have done with adding some light from the front – either a reflector, or a small video light or panel with a softbox or similar.
There wasn’t quite as much visible sky behind Vero and the light balance for her was better. Even so, the sky here could have been exposed better and a light source added here too.
Reversing the shot setup would have been another option, but that angle was not at all inspiring (a brown wall does not scream “idyllic dive centre”).
Text-Based Editing
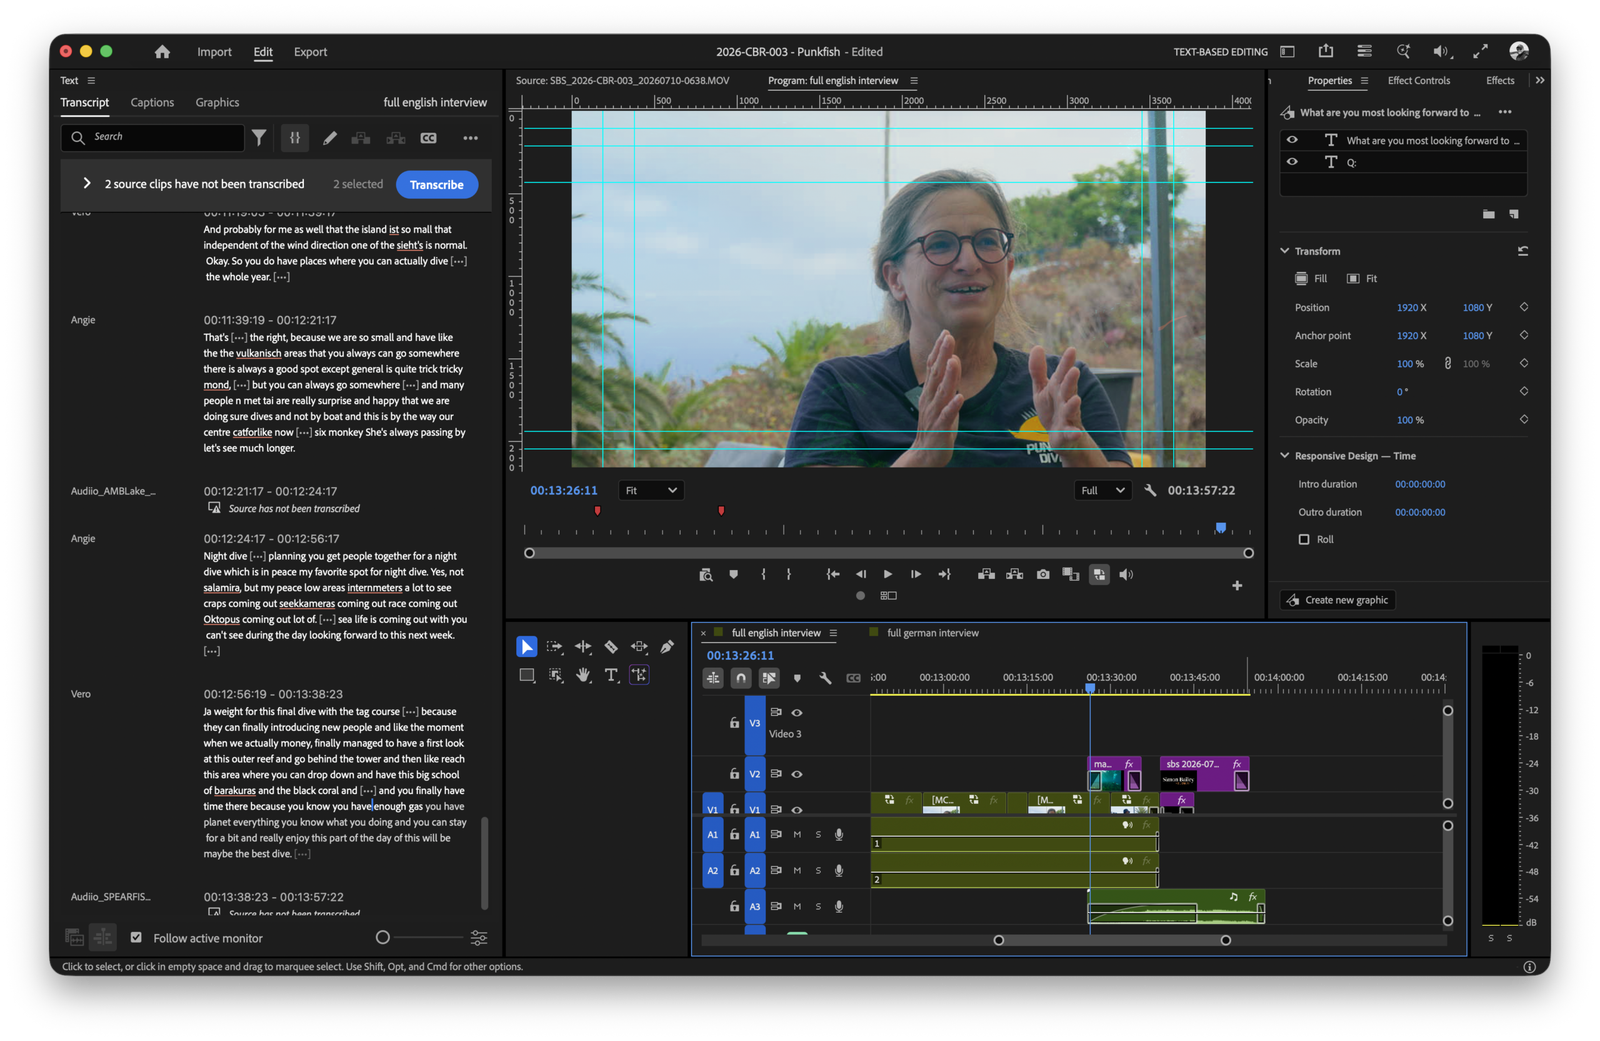
This made editing the interviews easy. What didn’t make it easy was the quality of the transcription and the speaker detection. The first part of the puzzle was where the transcription takes place – it’s on the source clip, and not in the multi-camera sequence or any derivatives.
The first “mistake” I made was recording both the German and English interviews in the same take. When I instructed Premiere to transcribe the clip for editing, I had the option of selecting either English or German as the detected language. This meant that Premiere attempted to parse part of the clip in the wrong language, which resulted in some interesting transcriptions.
The speaker detection was not very good at all: despite Angie and Vero having been recorded on two separate audio channels, Premiere analyses the summed stereo signal and separates speakers based on their voice patterns. Angie and Vero – at least in German – seem to be identical for this pattern matching. Their English voices are sufficiently different that Premiere identified 9 different speakers in the interview footage (spoiler alert: there were 3). I’m not really sure if there’s a better way to handle this in future, but it didn’t take too much time to split and label the speakers.
What's next?
Both interviews have been shared to YouTube, but they are too long to share on Instagram as-is. In order to keep interest alive, there will be a compressed 45–60s teaser edit – in vertical 9:16 – of each question or segment in both languages, and these will be drip-fed to Punkfish’s Instagram account over the next 6–8 weeks, one on Sunday, one on Wednesday.
This will keep their social feed moving, and also generate long-term traffic to the interview videos themselves. I also now have some breathing room and less pressure to deliver the “day in the life” video, meaning I don’t have to do a rushed job on that edit.